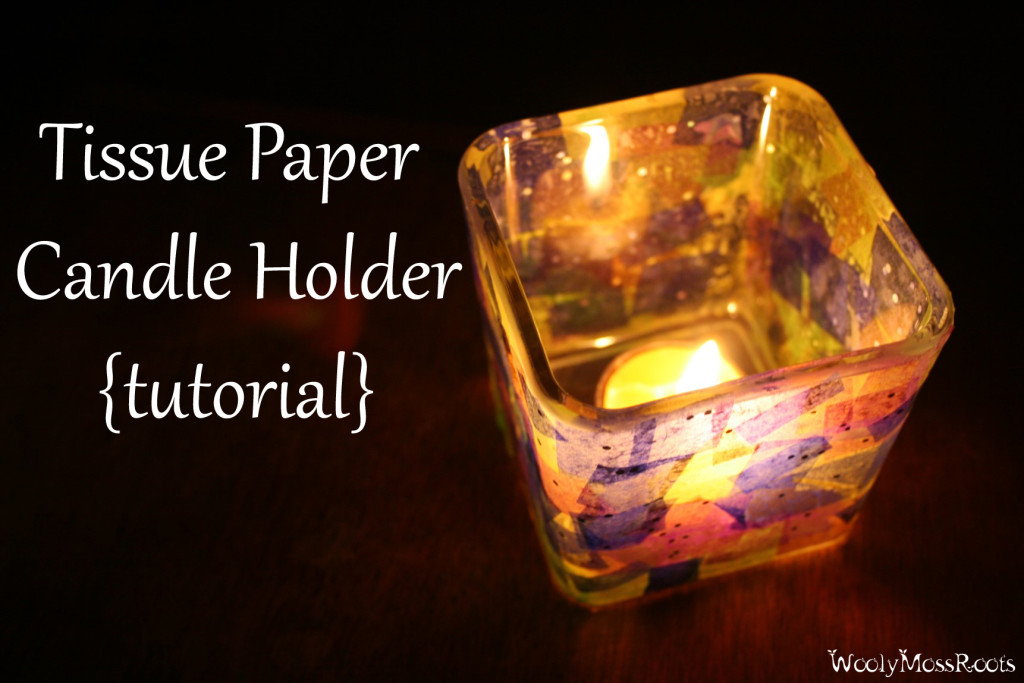
 I wanted to share a fun project that B and I made for some of our family for Christmas this year. I thought some of you might like to know how to make your own tissue paper candle holder, so I shared our process. We learned about these candle holders for the first time at the Waldorf School when the children made them in their Rainbow Bridge class. B enjoyed the project so much and they were so beautiful (they remind me of stained glass) that we decided to make them for gifts this year. This is an easy project that children love to help with, so if you’re looking for a gift idea to make with your children or grandchildren, or just an enjoyable project to make this winter, these candle holders are a great choice!
You’ll Need:
-Glass Candle Holder(s)
-Paintbrush(s)
-Tissue Paper (in different colors)
-Elmer’s Glue
-Scissors
-Container for Glue Mixture
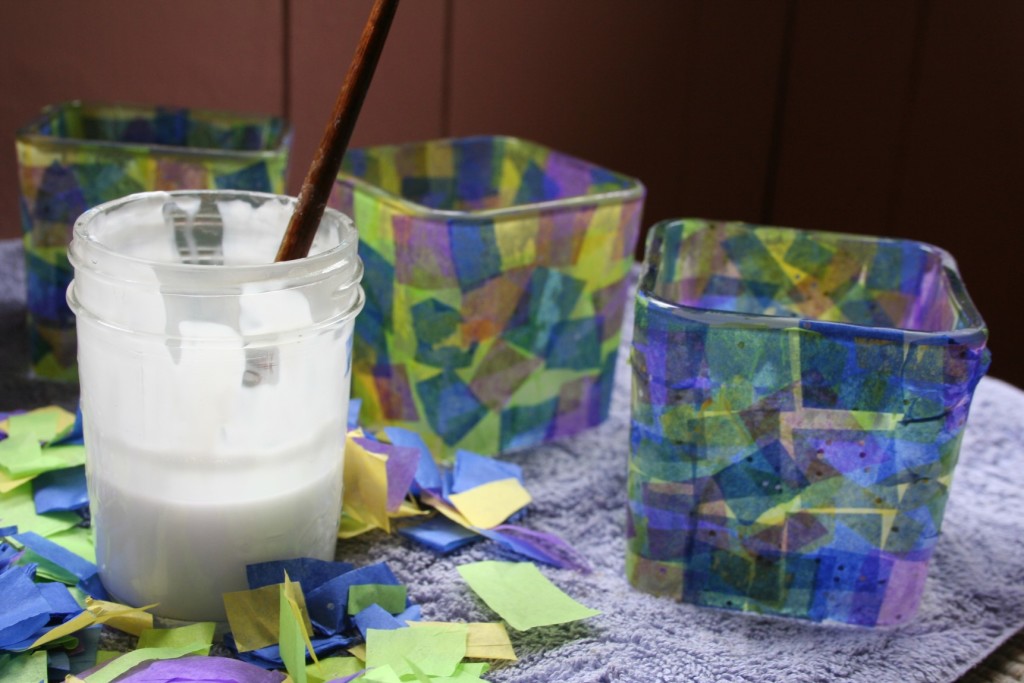
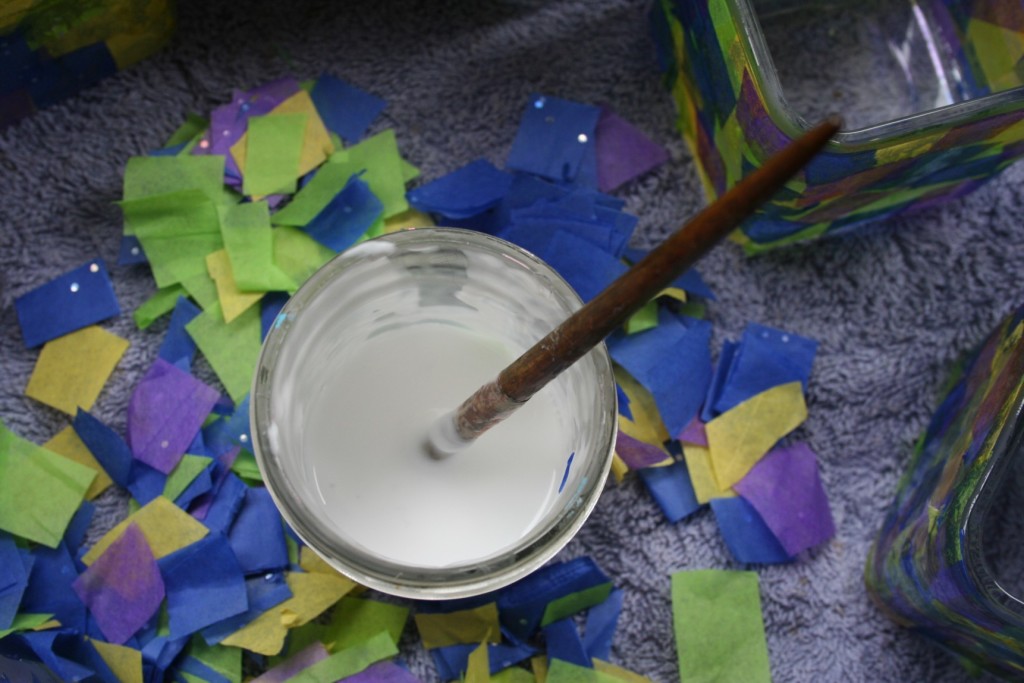 First, cut your tissue paper up into smaller bits. You can make any shape you want, we stuck with squares and rectangles. I was limited in color choices when I happened to be at the store buying tissue paper, so we only used four colors- blue, purple, green, and yellow. As you can see we did find some tissue paper with glitter on it and B loved that.
I realized after we had cut many squares, that the candle holder that B had made previously had larger sized squares. Even though this is a project that children love, he did get tired of it eventually because the squares were so small that it was time consuming to finish. So you might want to make your squares a bit bigger than we did. (Also the only glass candle holders that I was able to find were bigger than I had wanted, which also made the project take a big longer.)
Second, mix your Elmer’s Glue with an equal amount of water. I put a towel under our working area to make clean up easy (and to protect the table from drips) and then B got busy painting the glue mixture on one side of the candle holder at a time and then sticking the squares of tissue paper to it.
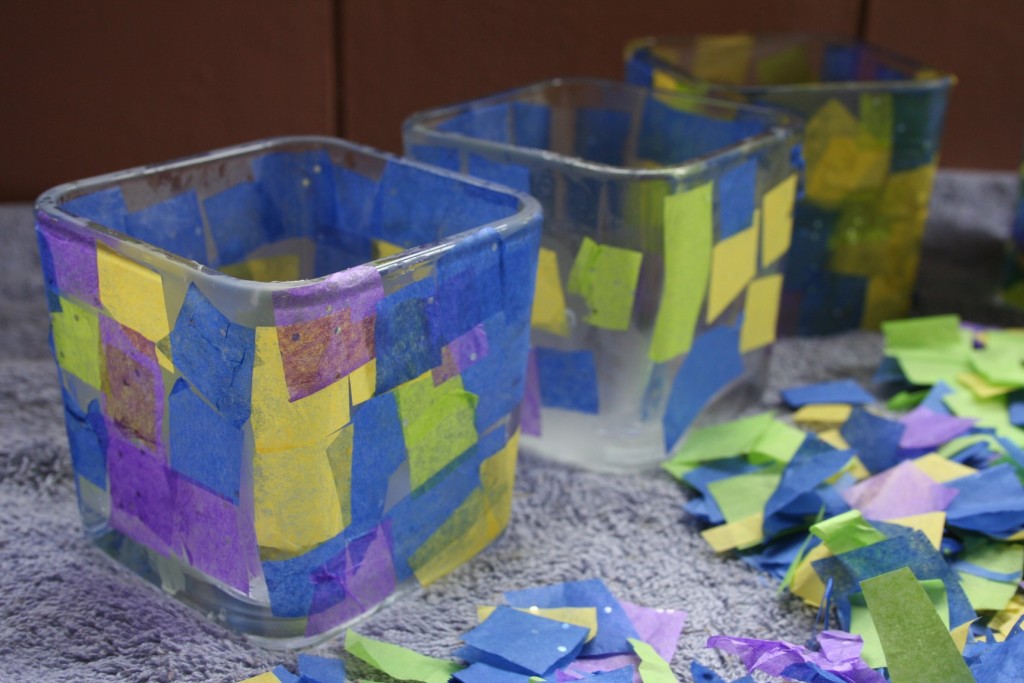
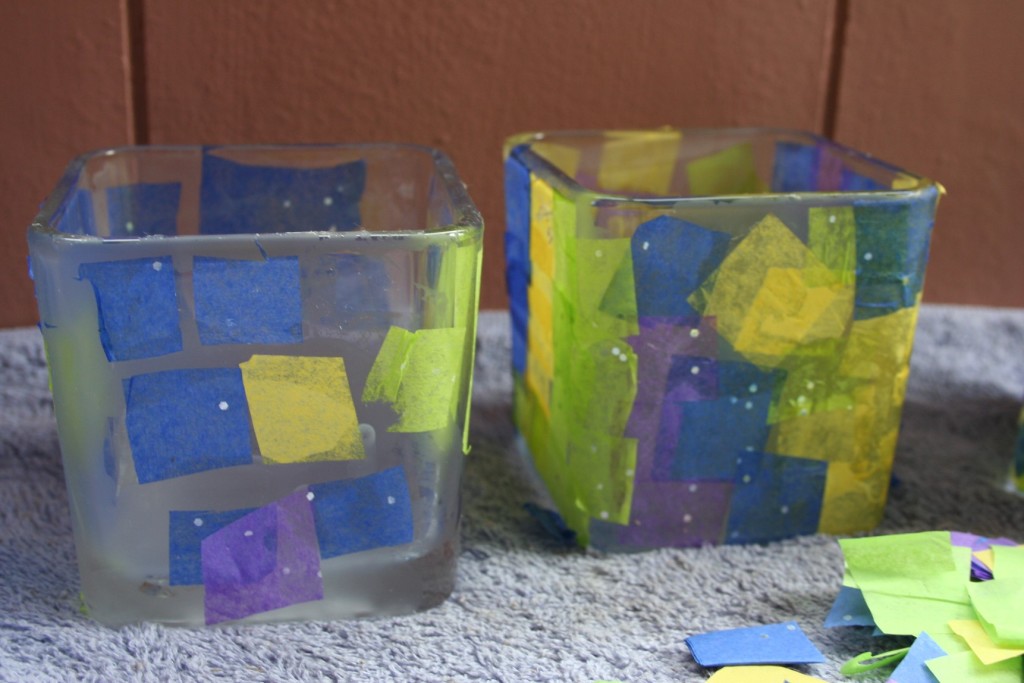 We listened to Christmas music while we worked on them. I cut out plenty of squares in each color while he pasted them on the sides. (He loved cutting out the squares too and did lots of that as well.) I think the candle holders look really pretty when all of the glass is covered in tissue paper, so the light is filtered and colored everywhere it shines out. When B got tired of the project, we set is aside and let it dry and then later came back and added more squares, with me doing most of the finishing.
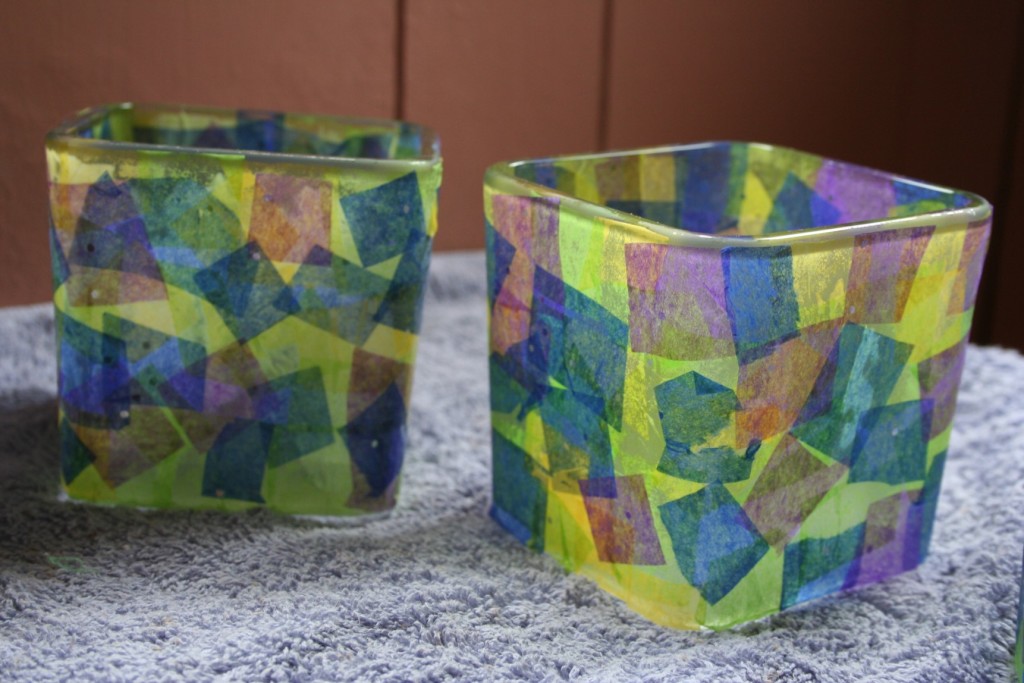
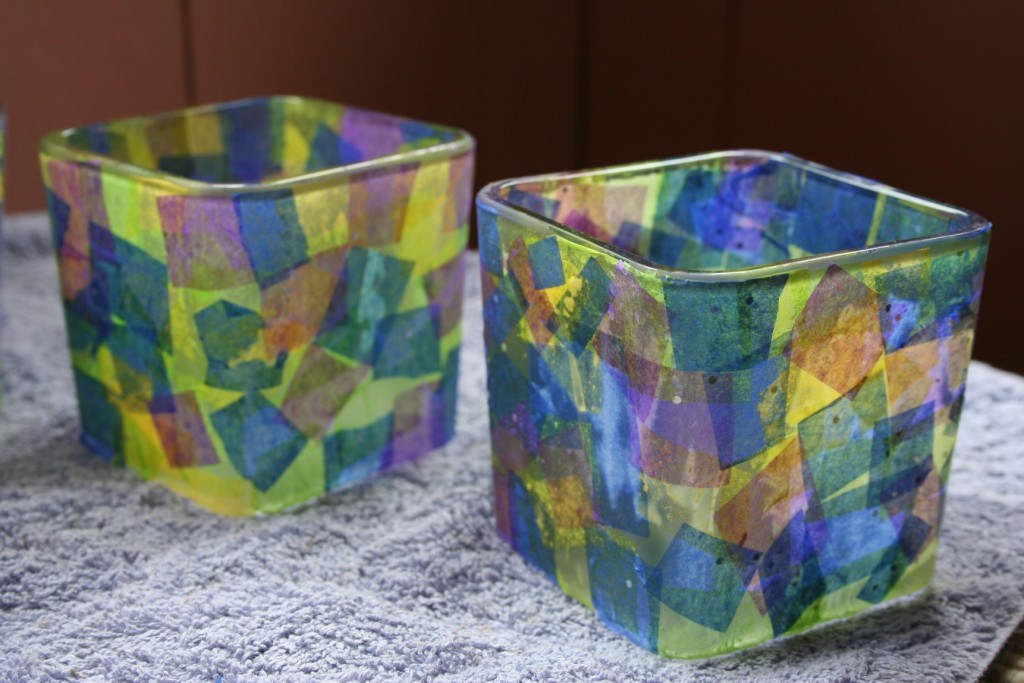
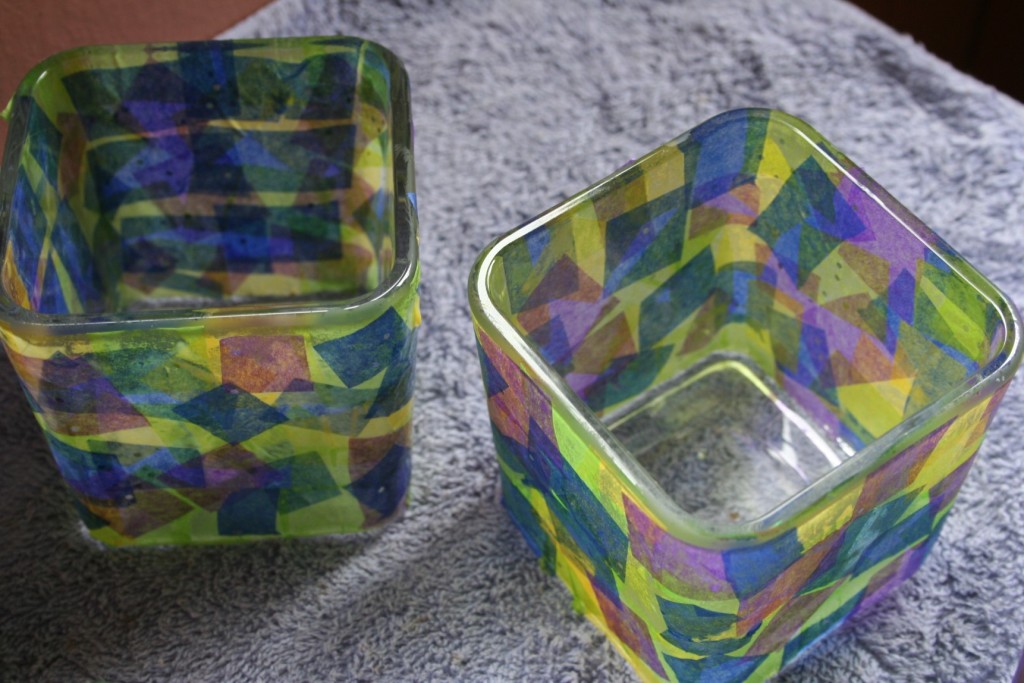
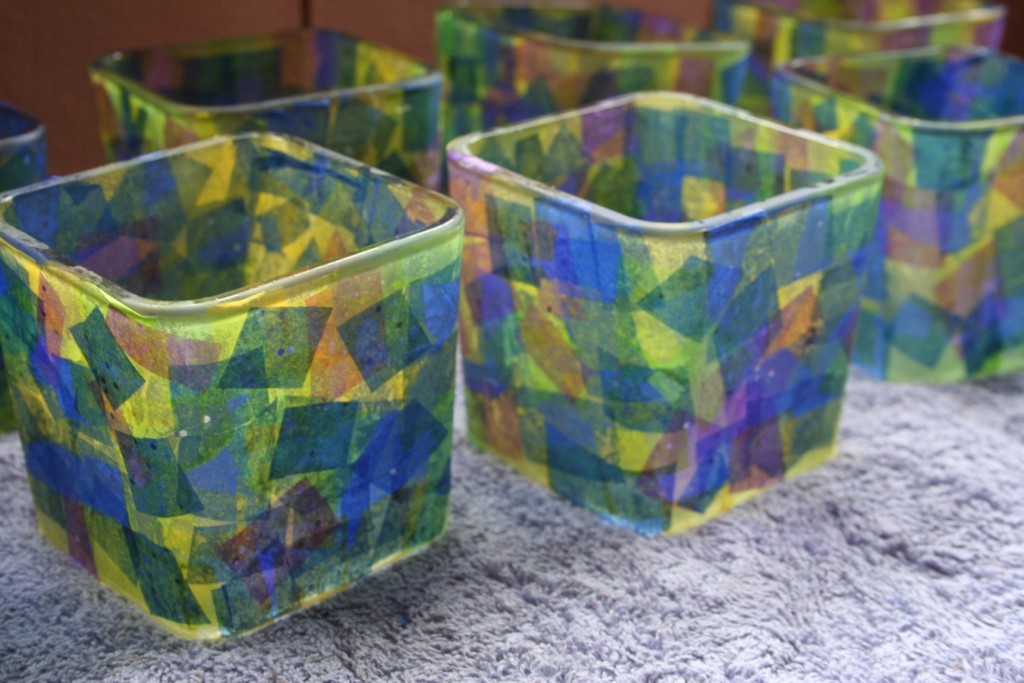
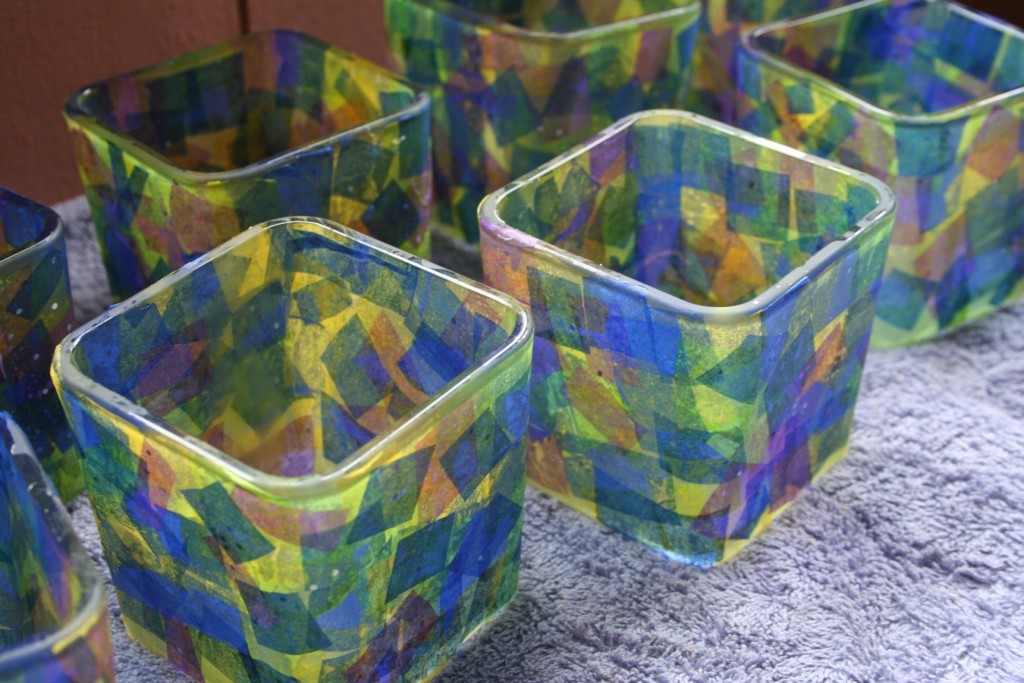 You can add a layer of the glue mixture over the top to make sure all the pieces of tissue paper are flattened and sealed to the side. When we had all the sides covered in all the colors, we let them fully dry. When we gifted them, we included a beeswax tealight with each. They may look pretty when they’re finished, but the true beauty shows when they are lit up by candlelight!
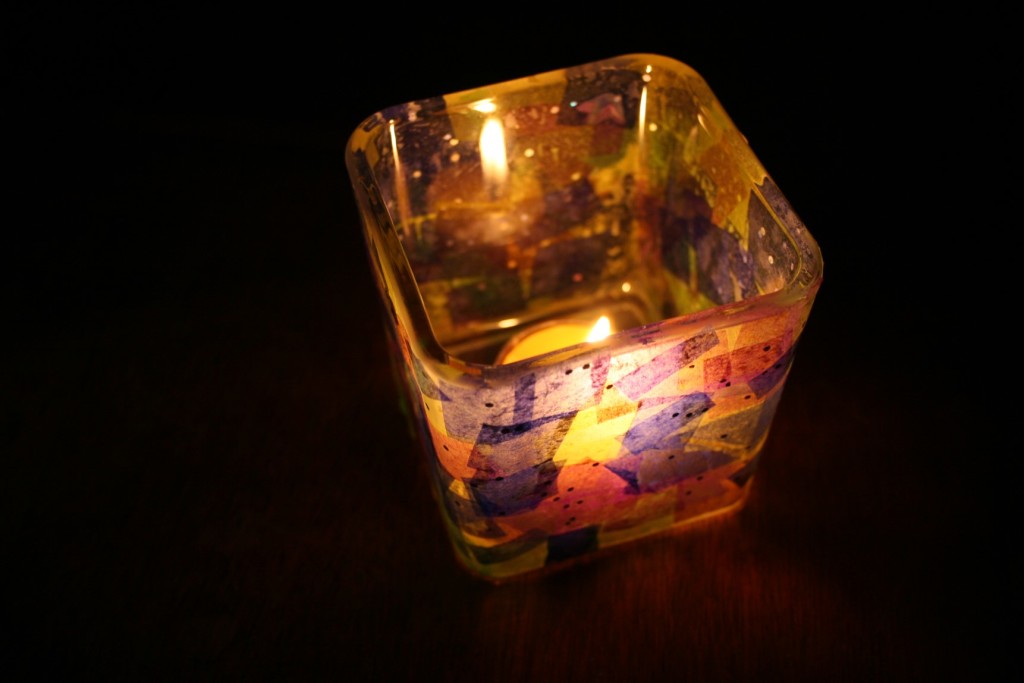
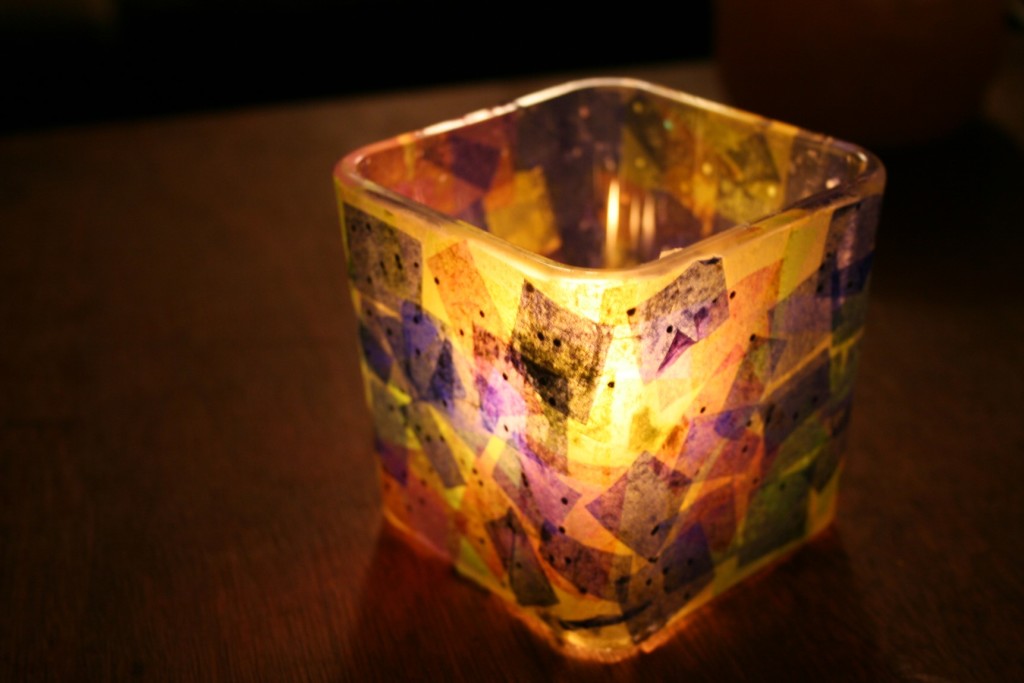
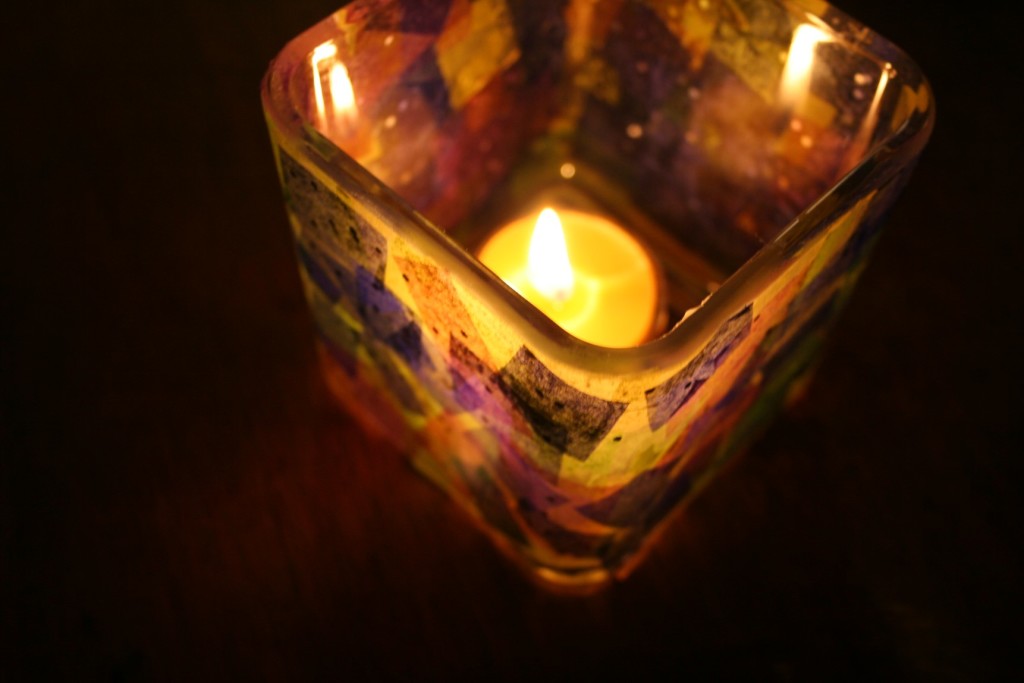 I hope you enjoy these as much as we do! May they be a light for you in the winter!
P.S. Happy New Year!!
I used to make those with our girls when they were little and they were always a big hit. Your color combination is really pretty!
The kids and I made some of these this year for solstice and just loved them! so pretty and so much fun to come up with “scenes” on the outside. yours are lovely