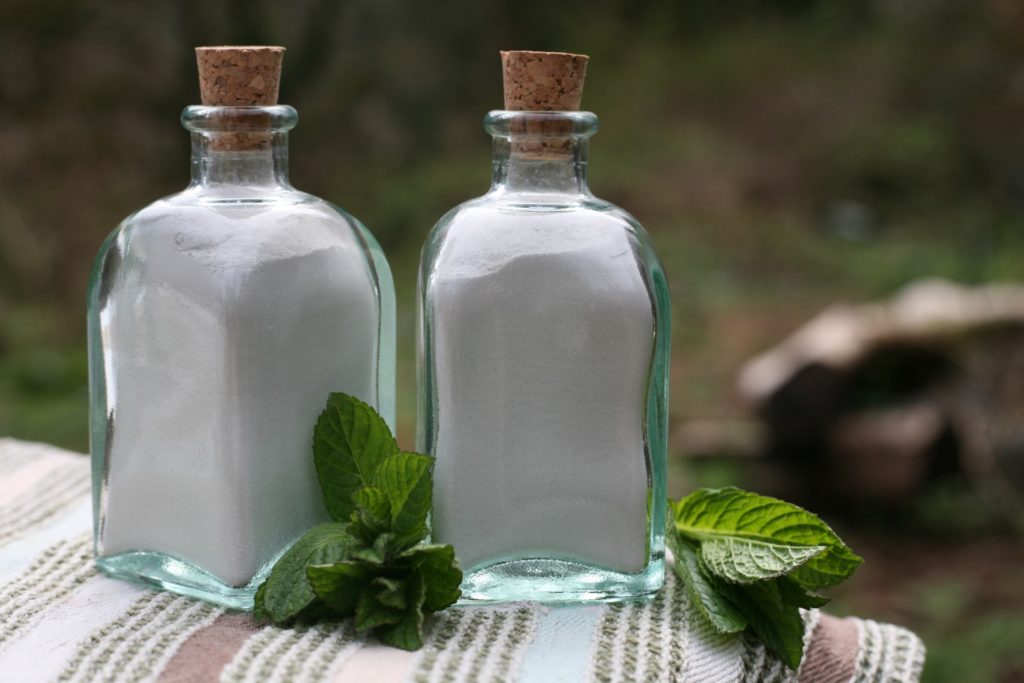
 {We had a day so beautiful recently that we looked for any excuse to be outside as long as possible. We happened to be all out of tooth powder and rather than whipping up a batch inside the house, I decided to set up a table in the yard and make some out there. Since I was outside, I thought it would be the perfect time to take pictures of the process. I had made a tutorial before, but the original pictures were taken inside during the wintertime and were a bit dark. I’d been meaning to take pictures of the process again and you just can’t beat that beautiful natural light. We also had just a bit of mint popping up in the garden, that I could include in the picture, so I figured it was meant to be.}
This mint tooth powder is well loved in our home, and has been for many years now. We don’t make all our own body care products around here, but this tooth powder blend is so quick to make that it fits into our busy life quite well. When I started paying attention to the ingredients in toothpaste at the store, I was dissatisfied with what I saw and didn’t want to purchase those toothpastes for my family to use any longer. More and more people are becoming inspired to make their own body care products for that very reason- they care about the ingredients, want to avoid anything toxic, and want to use products that are safe for themselves and their families.
I played around with some recipes until I settled on this blend, which I’ve been making ever since. (The mint is so refreshing!) Tooth powder is different than toothpaste and might take some getting used to for people wanting to make the switch (it’s a dry powder blend that you put on a wet toothbrush to brush your teeth), but I find the tooth powder to be very pleasant to brush my teeth with. And there’s no funky aftertaste lingering for a long time afterwards (like I always had with store bought toothpastes), which is another plus for me!
There are so many benefits to making your own tooth powder. First of all, it works great and leaves your teeth feeling so clean. Also, you know what’s going in it! You can have sparkling clean teeth with all the good stuff (choosing natural ingredients and skipping all the junk.) The same container can be used to hold your tooth powder over and over again, so you can say goodbye to filling up the landfills with more toothpaste tubes. You can have fun experimenting and adjust the recipe to suit you. You can save so much money over time! And you can create something wonderful in just a matter of minutes, and have the satisfaction of making it yourself.
There are many recipes for tooth powder out there and the variations are endless. I really like this blend because the ingredients are gentle on the teeth, and not abrasive. I buy tooth brushes with soft bristles to protect the enamel on the teeth, and I also chose ingredients for our tooth powder blend with that in mind. This recipe is very straightforward and simple. There are only a few ingredients and it is so quick and easy to make. The process does not require pictures, but since I am such a visual person, I wanted to include pictures of the process anyway. I love having a series of pictures, rather than just a list of steps, and figured many of you would too.
………………………………………………………………………………………….
Mint Tooth Powder
Ingredients:
¼ cup bentonite clay
1 tbsp. baking soda
20-25 drops peppermint or spearmint essential oil
What you’ll need:
-Mixing bowl
-Whisk or spoon
-Container for tooth powder (or several, depending on how much you make at once)
-Measuring cup and measuring spoon
-Funnel (only if chosen container requires it)
{One batch of this recipe doesn’t quite fill a 4 oz. glass jar, which is the size we use. Three batches of this recipe fills two 4 oz. glass jars, plus a little extra. I always make three batches at once, so we’ll have plenty to last us for a long time.}
A note on ingredients:
I’m a huge peppermint fan, and it leaves your mouth feeling so refreshed, so I like to make our blend with peppermint essential oil. Jeff isn’t a fan of spearmint at all (and I prefer peppermint), but spearmint is a good option for those who don’t like peppermint. Spearmint is gentler, so it works well for tooth powder blends for children if they prefer a milder taste. It’s good to start with less essential oil in your blend and then give it a try to decide whether you want to add more or not, depending how strong you want the mint to be.
Jeff likes to add a little myrrh gum powder (1 tsp. per batch is a good amount) to his tooth powder because it’s really good for the gums. It can be included in adult blends, but I wouldn’t recommend it for blends for children because they don’t need myrrh gum powder for their gums (and I haven’t researched using it with children.) I also want to note that I’ve read that myrrh gum is not recommended during pregnancy (internally), so the myrrh gum can be omitted in that instance as well. (Keep in mind those precautions are for internal use. The tooth powder is not made for consuming, as we all know, it’s simply for brushing the teeth, and the amount of myrrh powder is small. But I want to share the precautions because sometimes kids swallow what they are brushing their teeth with, and I want to share all the information I know. Bentonite clay is actually beneficial when used internally, it removes toxins, so no worries there.)
Sourcing ingredients:
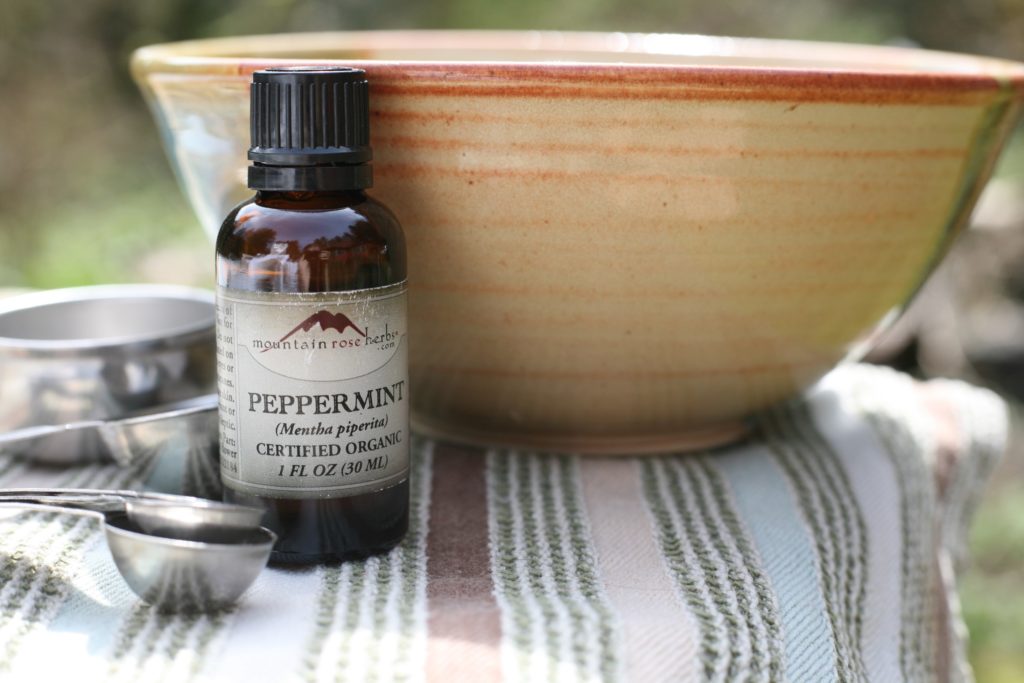
Baking soda is the easiest ingredient to find, available at your local grocery store. For the clay and essential oil, we like to purchase those from Mountain Rose Herbs. (We’re grateful that we are able to pick up orders and not have to pay for shipping, which can get quite spendy for something as heavy as clay. Check for local sources for clay to save on shipping.) The bentonite clay we purchase from them is 100% naturally occurring and naturally quarry mined in the United States, then sun dried. Oh, and our favorite container we’ve found for putting our tooth powder in is also from Mountain Rose Herbs. The glass jars we use are made in Spain with 100% recycled glass. (We use the 4 oz. size.) They have a cork top and a nice small opening that makes it easy to pour a little bit of tooth powder in your palm at one time. (They work well, plus the glass jars look beautiful on your counter top!) They do require a small funnel to get the tooth powder inside.
Okay, when you’ve got everything you’ll need, let’s get started.
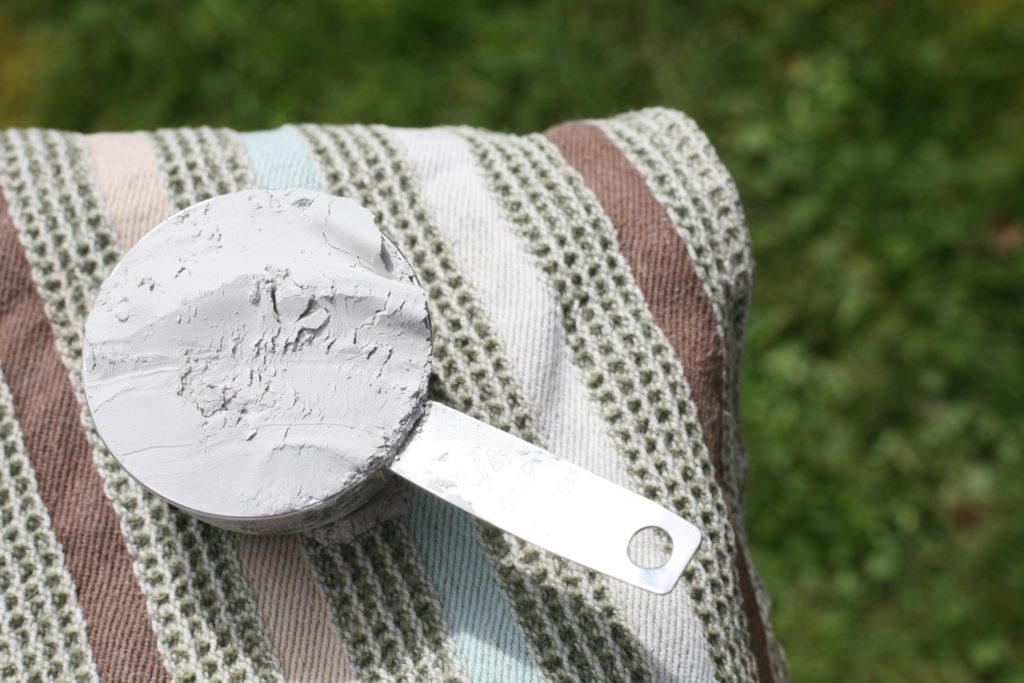
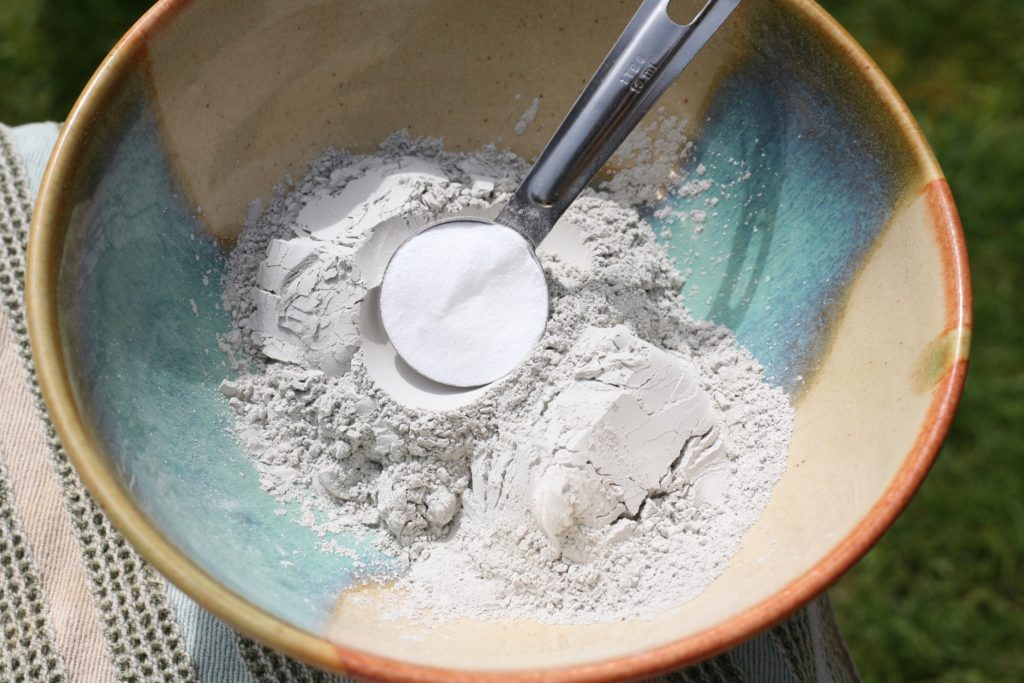
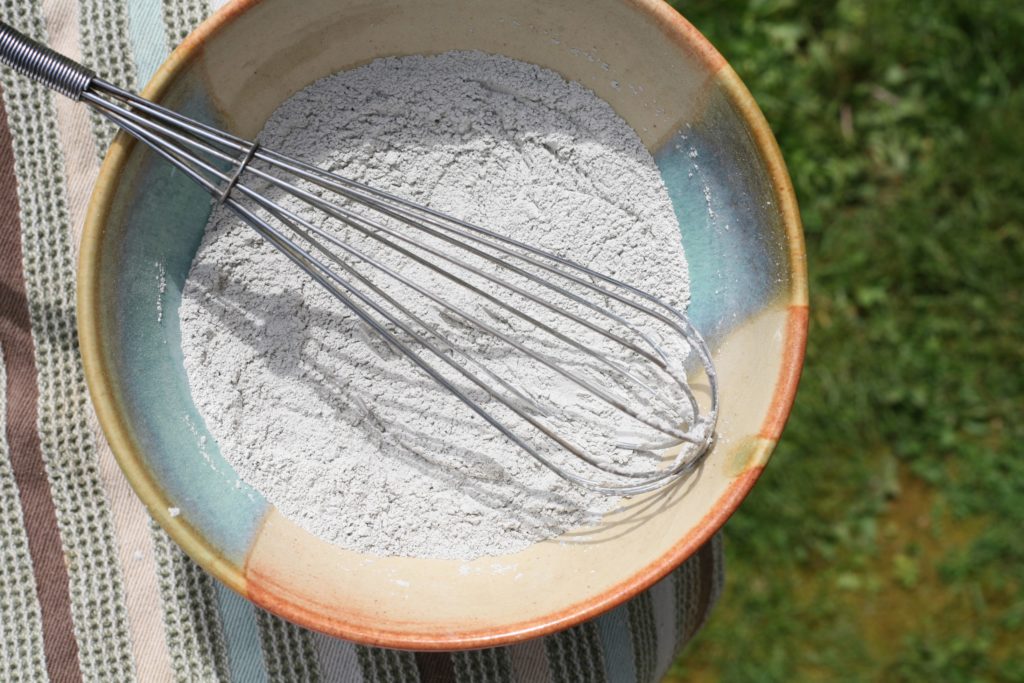 To start, put your clay and baking soda in a bowl and thoroughly blend them with a wire whisk (my preferred stirring tool for this tooth powder blend.)
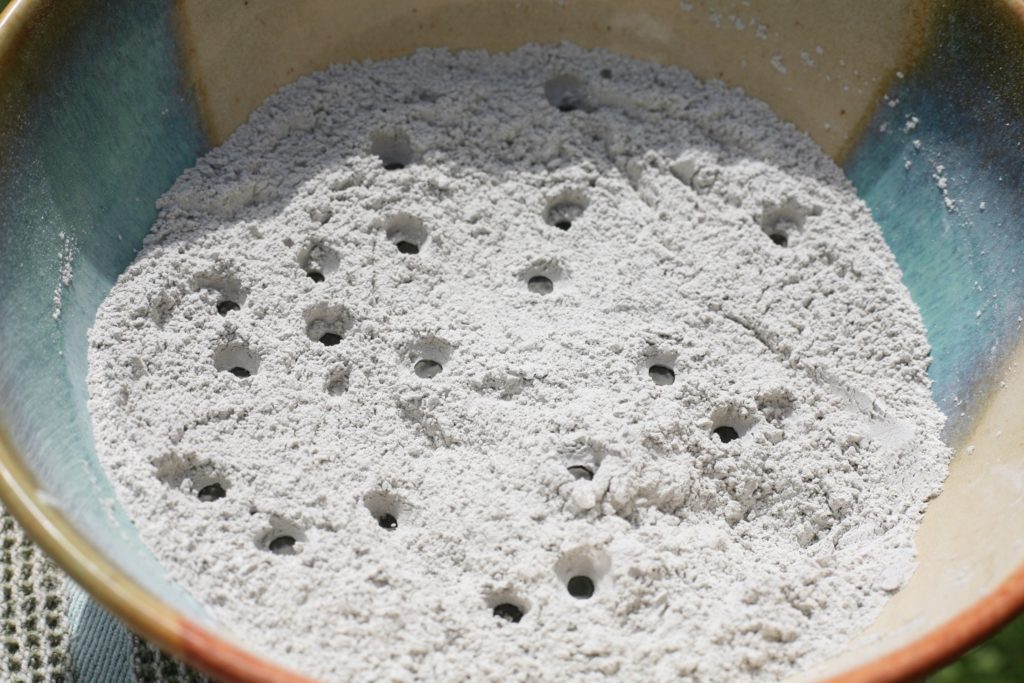 Add your drops of essential oil, evenly distributing them throughout the mix. Your blend will look funny at this point. (If I am making three batches at once I like to add the amount of essential oil for a single batch, stir, then add the amount of essential oil for another single batch, stir, and so on, until I’ve added the amount for three batches. The essential oil gets more evenly distributed throughout the entire large batch that way, and not just at the top.)
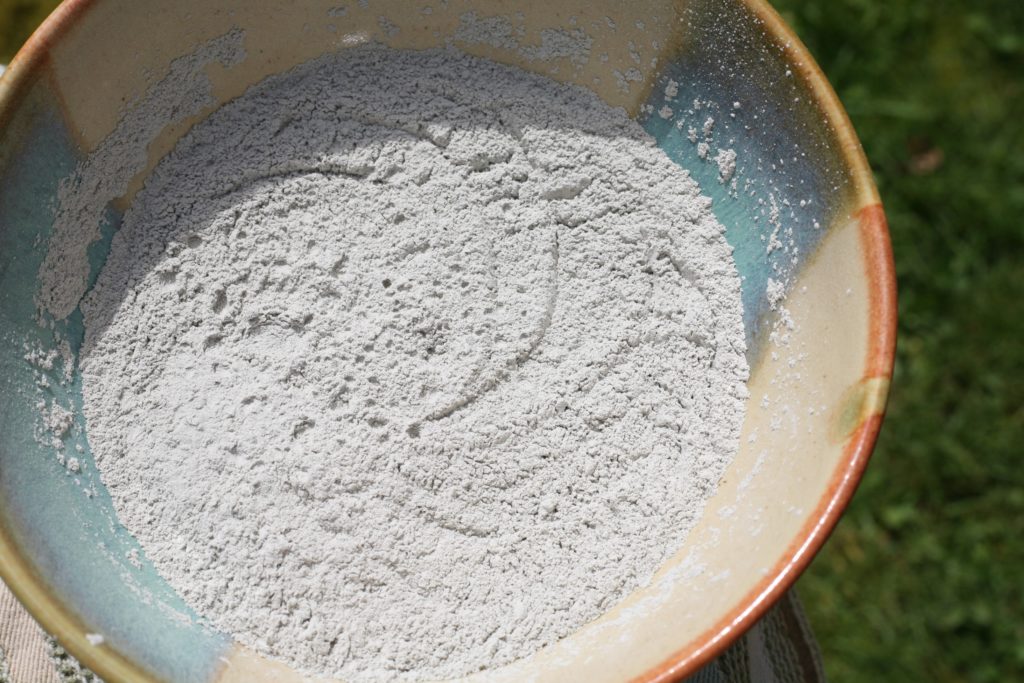 Mix more with your wire whisk. (I should add that children love helping make this tooth powder!) The “clumps” from the essential oils being poured in the dry ingredients will go away when you keep stirring a little. And now….. your tooth powder is ready! It’s seriously that quick.
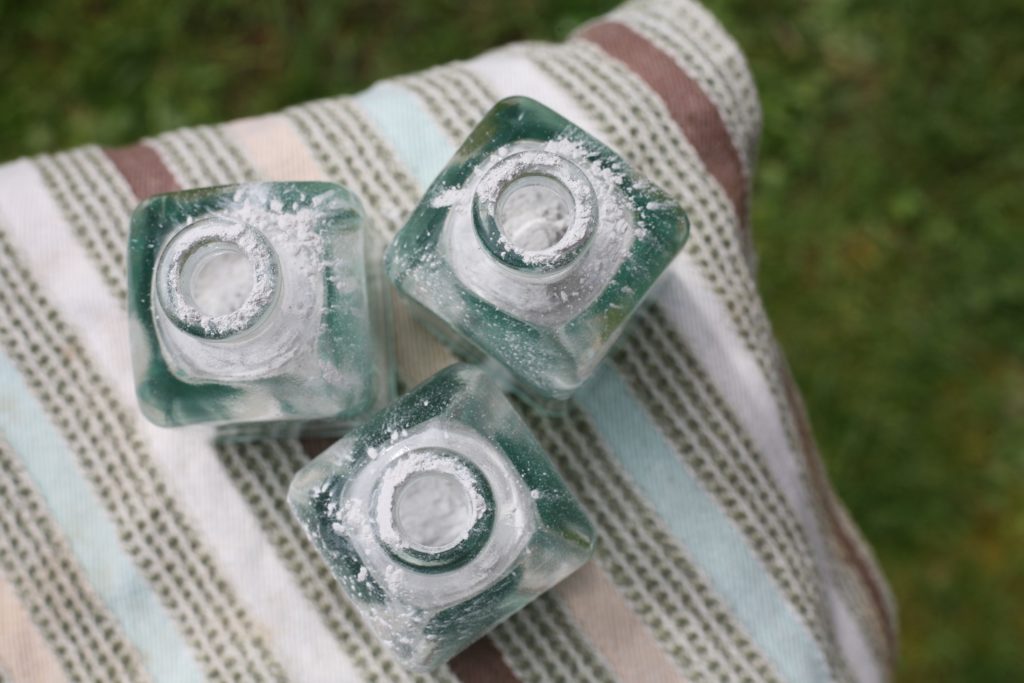 Now it’s time to put your tooth powder into your chosen containers. For the glass container with the small opening that we use, it requires a small funnel to get the tooth powder inside. I used metal tins in the past to put the tooth powder in, but when I tried to sprinkle a little in my hand, a lot came out. We’ve found the containers with smaller openings work much better for controlling the amount of tooth powder that comes out at once. And that just makes it more convenient to use on a daily basis.
A little tooth powder gets spilled around the edge of each container when I pour it through the small funnel because I have to tap the funnel a bit to keep the clay mix coming through (and not getting clogged.) It’s good to pour the tooth powder into the funnel slowly so it goes through easily, but inevitably while trying to pour it slowly, more clay comes out at once than I intend. But a little clay mess never hurt anything, it wipes up easily.
I also gently tap each container as I fill them to get the clay to settle to the bottom so I can add more. The container can look full, but as the tooth powder settles, look empty. I like to fill each container up as much as I can. To use the tooth powder, either sprinkle a small amount on your wet toothbrush, or sprinkle a little in the palm of your hand and dip your wet toothbrush in it (my preferred method, it wastes less.)
Smile, knowing you’re giving those pearly whites the very best!
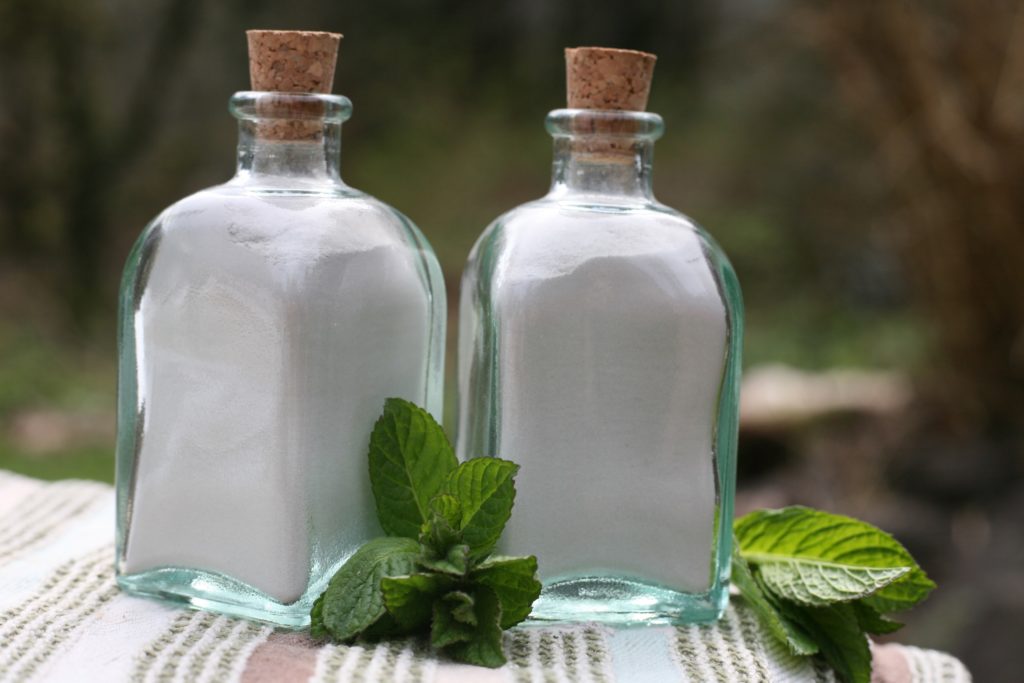 So there you have it. Have fun experimenting and blending! We hope you’ll enjoy your handmade tooth powder as much as we do in our home.
*Edited to add 2020: The dentist recently told me that they’ve been finding that bentonite clay is more abrasive than preferred for tooth enamel. I have not done any research on that yet, but feel inclined to pass that information along to you so you’ll do your own research before making your tooth powder. Warmly, Taryn*
I was so happy to see this post. I have been wanting to make an all-natural tooth powder for some time but was too lazy to look for a recipe. 😊 I’ll be making this today; I already have all the ingredients on hand. Thanks for sharing your recipe!
you don’t sell it in your Etsy store anymore?
No, we no longer offer it in the shop. I’ve been meaning to post the recipe here for quite some time.